• Current Host Code

    3JPYUY7B

    If you use this code when placing an order online your order will be eligible for participation in my clover rewards program.

    If your order totals more than $150 don’t use the hostess code so you can enjoy the hostess benefits yourself and it will also be eligible for participation in my clover rewards program.

  • Upcoming Events

    No upcoming events

  • Categories

  • Enter your email address to subscribe to this blog and receive notifications of new posts by email.

    Join 125 other subscribers
  • The content in this blog is the sole responsibility of Jennifer Lynn O’Neal as a Stampin’ Up!® Independent Demonstrator.  The use of and content of classes, services or products offered is not endorsed by Stampin’ Up! Unless otherwise indicated, images © Stampin’ Up! 1990 – present.

Geared Up Garage Card using the Stamparatus

I go live every Wednesday night on FaceBook and try hard to provide useful information for my viewers as well as my readers. One of the things I try to do during my lives is to showcase a specific product that can make your stamping and papercrafting easier and more efficient. The Stamparatus is one of those tools that many of us seasoned stampers owned but left sitting on our shelves way to much. Just like anything new we have to make a conscious effort and then once we do we wonder why we waited so long. This was true for me for both the Stamparatus and the Geared Up Garage Stamp set. I don’t know why I hadn’t used this stamp set before this project. I just love how this card turned out.

One of my favorite features of this card is that it doesn’t have a sentiment on the outside. I can’t think of any cards that I have made that don’t have a sentiment on the outside but it seemed more appropriate not to have a sentiment on the outside. This way your gear heads can have the card out without worrying about any mushy sentiments. For complete instructions on how I made the card you can check out the How to PDF. I have also included the video that shows exactly how I used the Stamparatus. It is just something you have to see rather than than me explain.

I hope you have found this helpful and inspiring. I would love to see any cards inspired by this post or cards you made using your Stamparatus.

Jenny

If you have been inspired to place an online order with Stampin’ UP! please check my home page for the current Hostess Code. Anyone using the code and placing an order of $25 or more will receive a thank you gift.

A Touch of Ink — Hummingbird Card

I have always loved hummingbirds. They remind me of my Grandma and Grandpa. For as long as I can remember they always had a hummingbird feeder on their back porch. I can only remember seeing a handful of hummingbirds at the feeder but that is what made it so special it was a rare beautiful sight. For me the Hummingbird image in A Touch of Ink Stamp Set brings back all those special memories. I knew I wanted to make a card as special as my memories are and I finally managed to do that.

I had some Calypso Coral Cardstock left on my desk from the Post-it Note Holder project and that fit perfectly with the Stampin Blends that I had in Calypso Coral and Granny Apple Green. I pulled a sheet of Granny Apple Green DSP out of the Brights 6 x 6 Designer Series Paper. As I wanted this to be a special card, I decided to use a very different layout for me. To achieve this layout I removed 3 inches from the 11″ x 4 1/4″ strip of Calypso Coral Card stock I am using for the base and then used that section turned sideways to create the card front. This layout then reveals part of what is traditionally the inside of the card. I love how this adds to the illusion that the hummingbird is actually inflight with branches in the background.

I added some small pearls and a piece of retired Calypso Coral ribbon to finish the card. I have created a How to PDF that gives you all the details on how to recreate this card. I also created a video that shows how easy it really is to make this beautiful card.

If you as captivated by the Touch of Ink Stamp Set as I am please don’t wait this is a limited addition Sale-A-Bration exclusive stamp set. The only way you can get the stamp set is to order $100 in Stampin’ UP! products and select the Touch of Ink Stamp Set as your free gift from Stampin’ UP!. I would be happy to help you put together an order today.

Jenny

If you have been inspired to place an online order with Stampin’ UP! please check my blog’s home page for the current Hostess Code. Anyone using the code and placing an order of $25 or move will receive a thank you gift.

Watercoloring Fun

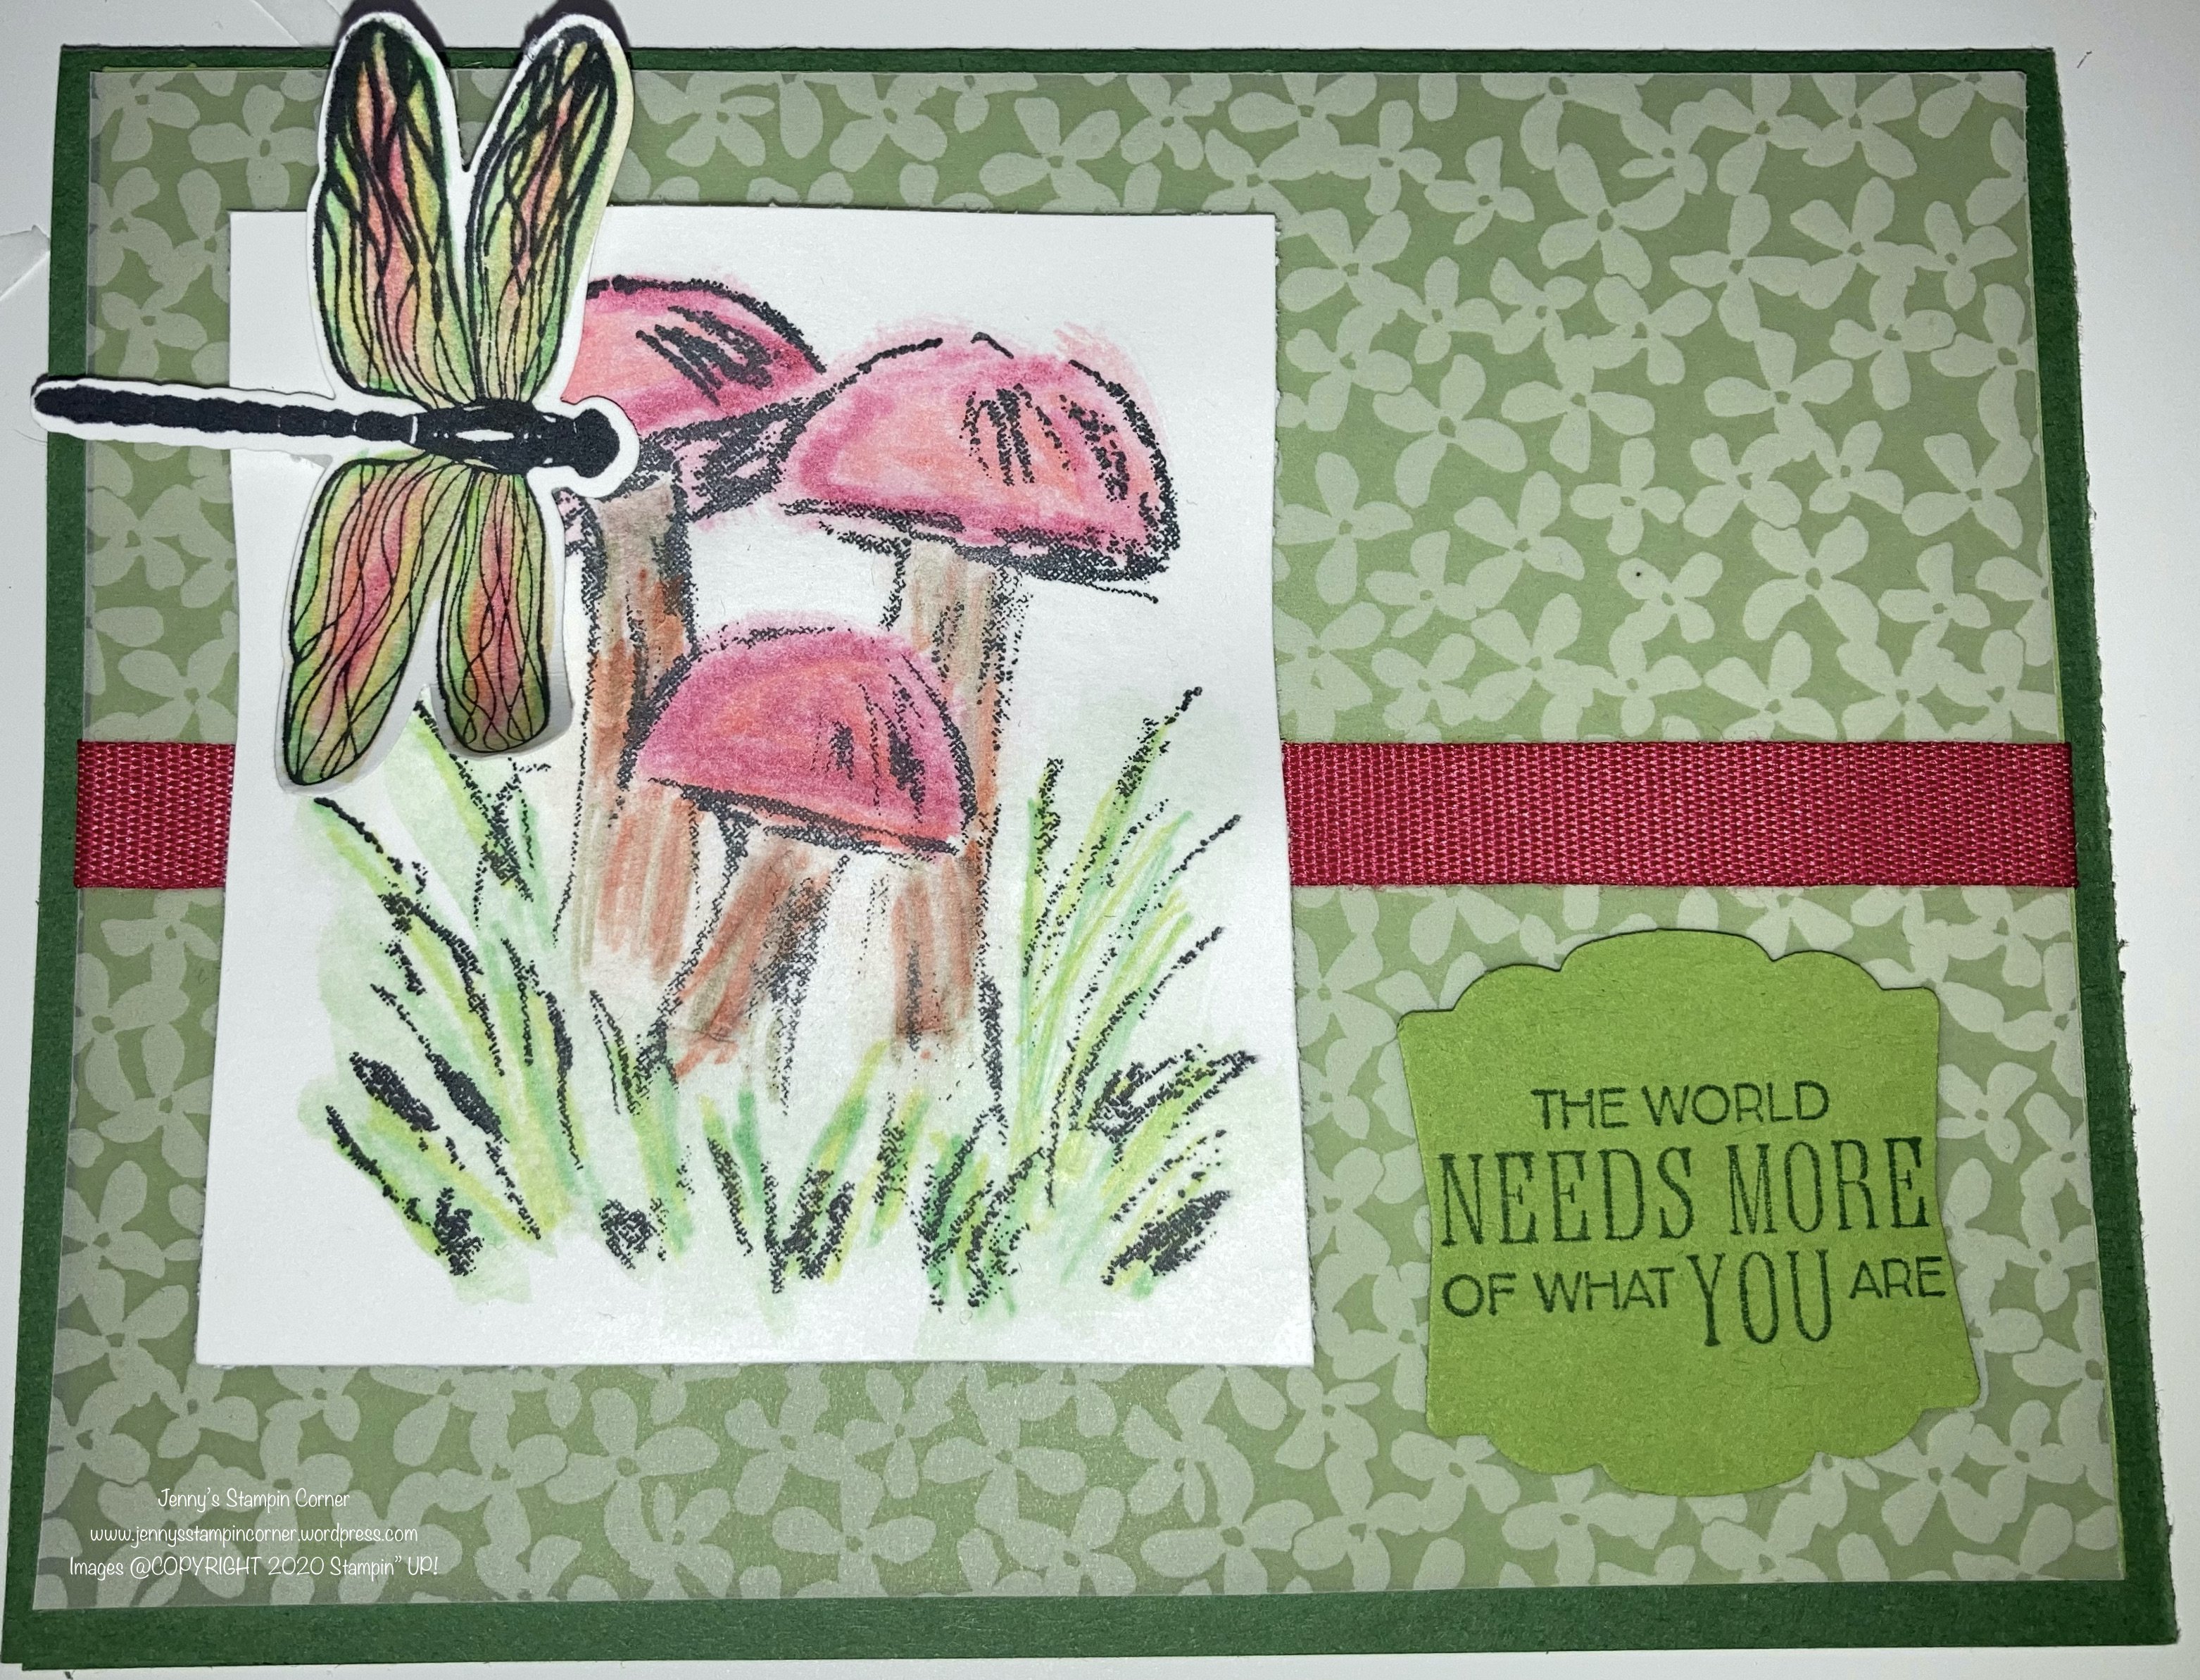
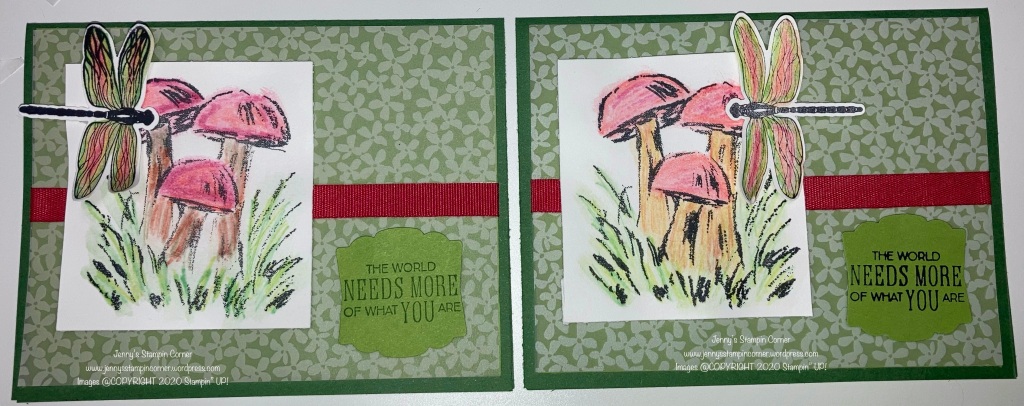
I am really enjoying watercoloring using the Watercolor Pencils and the Water Painters. For someone who always wanted to be able to paint pictures this is as close as I am going to get. When I did the Facebook live last week and used the mushroom image from the Walk in the Woods Stamp set to color I wasn’t sure what I was going to do with the image but it didn’t take long once I started pulling card stock out and layering stuff up for this card to come together. My daughter Lainy was down and helped me by suggesting the printed vellum for a layer. We also disagreed about the location of the butterfly.

The card base is Garden Green Card Stock cut 5 1/2″ x 8 1/2″ and scored at 4 1/4″ to make a top fold card. The next layer is Granny Apple Green Card Stock cut 5 1/4″ x 4″ place directly onto the Granny Apple layer is the printed vellum layer (Retired product) cut to the same size. There is printed vellum currently available in the Peony Garden Designer Series paper that would give you a similar look. When using vellum it is important to remember that any adhesive used will show through the vellum unless covered with something. To help cover the glue marks holding the vellum down I used a piece of Real Red 3/8″ Cotton Ribbon (also from my retired stash). We currently have Real Red 3/8″ Double Stitched Satin Ribbon that would do the job. The mushroom image is from the Walk in the Woods Stamp Set and the Dragon Fly Image is from the Dragonfly Garden Stamp Set, Both are stamped using Stazon ink and then colored using the water coloring method which I demonstrated in the video below.

The dragonfly is punched out using the coordinating Dragonflies Punch. The sentiment is Stamped in either Stazon Jet Black or Garden Green on a piece of Granny Apple Green Card Stock that is then punch out using a retired tag punch. I tried the Garden Green first for the sentiment but felt it was too faded looking next to the image stamped in Jet Black Stazon. I would love to hear which look you like better. The mushroom image, butterfly, and sentiment are all attached to the card using Stampin Dimensionals. I also like to curl the dragon fly wings up just a little bit to make it more 3 dimensional. I also inserted a piece of Basic White Card Stock inside the card cut to 5 1/4″ by 4″ and stamped with the flying dragonflies image from the Dragonfly Garden Stamp Set in Garden Green to give the inside some love as well. The Dragonfly Garden Stamp Set and Dragonflies punch can be purchased as part of a Bundle for added savings.

Which of these cards is your favorite? What would you do to give it your own twist?

Remember if you place any online orders with Stampin’ UP! please use the January Hostess Code SEFKD7DG Anyone using the code and placing an order of $25 or move will receive a thank you gift from me. If you order between now and February 28th you can also receive the Sale-A-Bration rewards for orders of over $50.

Jenny

Watercolor Pencils

The watercolor pencils are another way to take a card from nice to wow. I hadn’t used the water color pencils myself until recently. My daughter loves to draw and color in her spare time and play around with different mediums so I ordered her the Water Color Pencils. Since they were out I decided to play around with them one day myself. I need a birthday card for my Uncle and the Rustic Retreat Stamp set seemed like the perfect place to start. I also pulled out the Woodland Embossing Folder. I knew I could create a mascaline card that would fit my uncle.

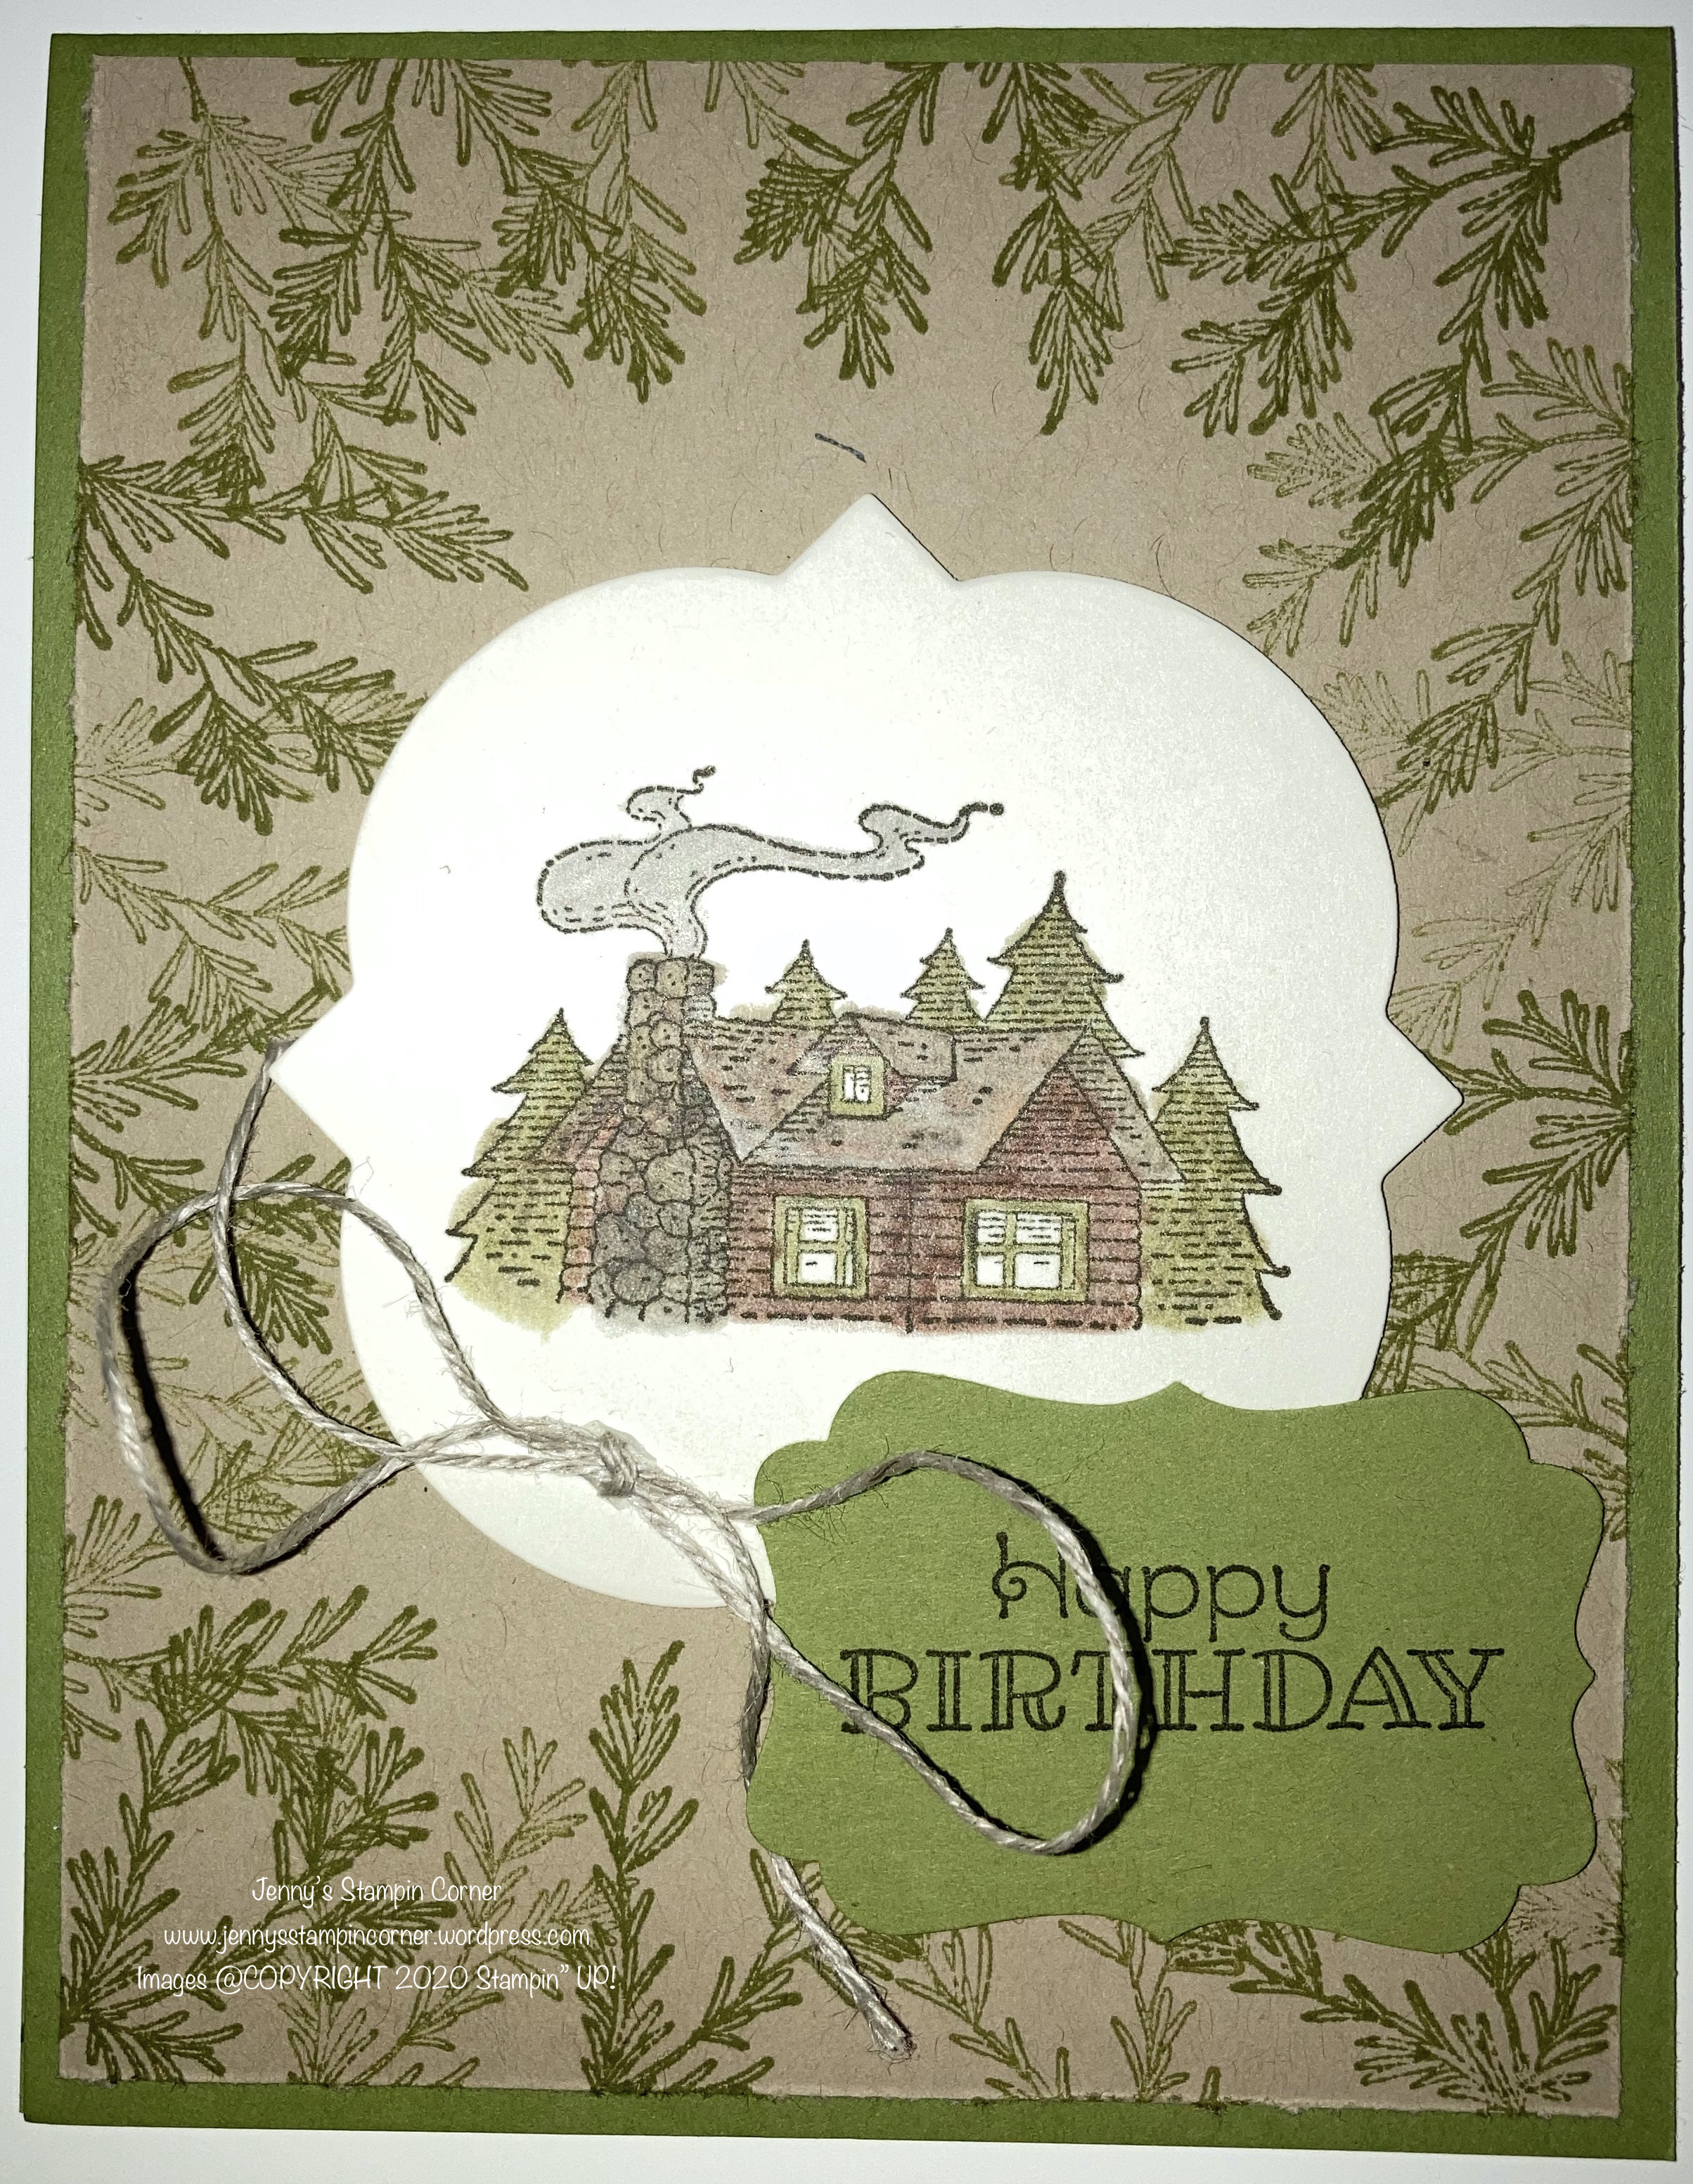
I started with Old Olive Card Stock for my base cut to 5 1/2″ by 8 1/2″ which when folded in half gives me a card with final measurements of 4 1/4″ by 5 1/2″. Then I used a piece of Crumb Cake Card Stock cut 4″ x 5 1/4″ and ran it through my big Stampin’ Cut & Emboss Machine using the Woodland Embossing Folder. I just love how this folder reminds me of Birch trees. The image is from the Rustic Retreat Stamp set and is stamped using Early Espresso Classic Stampin’ Pad on Basic White Card stock. I again used my Stampin’ Cut & Emboss Machine and a retired die to cut the stamped image out into this shape. The sentiment is also from the Rustic Retreat Stamp set and again uses the Early Espresso Classic Stampin Pad. I used the retired Decorative Label punch to cut out the sentiment. The embellishment on the card is the retired Old Olive/Whisper White Baker Twine. I also used an old wood block set called Congrats to stamp the sentiment inside again using Early Espresso. I like the card but since I had an extra card base already cut I decided to play a little more.

This time I did get out the water color pencils and color the stamped image of the cabin using Old Olive for the trees and window trim, Basic Grey for the smoke, Early Espresso for the cabin. The roof and rocks are a combination of all those colors along with a little Pumpkin Pie and Basic Black. To finish off the colored image I used the Blender Pen to go over everything and smooth out all of my pencil marks and blend the colors in the roof and rocks together to give them a more natural appearance. If you look closely at the picture I also used the Whisper White pencil to color the indentions from the Woodland embossing folder to help pop the embossed image on the Crumb Cake layer. The image and sentiment are popped up using Stampin’ Dimensionals. I also amped up the inside by using the branch image and stamping it on the inside using Old Olive Classic Stampin’ Pad.

The video below shows exactly how I colored the cabin.

I also created a few more variations as I can’t leave good stamped images unused. I would love to hear which of the cards was your favorite. I wanted to make a few examples that required less tools. I also used Very Vanilla and linen thread instead of the bakers twine just to change it up.

I would love to hear your thoughts about the different cards. Do you have a favorite?

Remember if you are interested in the any of the items I used today. Now is a great time to add to your supplies or to get started because during Sale-a-Bration you can select free items for every order of $50 or more. If you place any online orders with Stampin’ UP! please use the January Hostess Code SEFKD7DG. Anyone using the code and placing an order of $25 or move will receive a thank you gift from me.

Jenny